
Previous Post: Windows and Hyper-V Installation – Dynamics 365 for Finance and Operations On-Premise at Home – 01
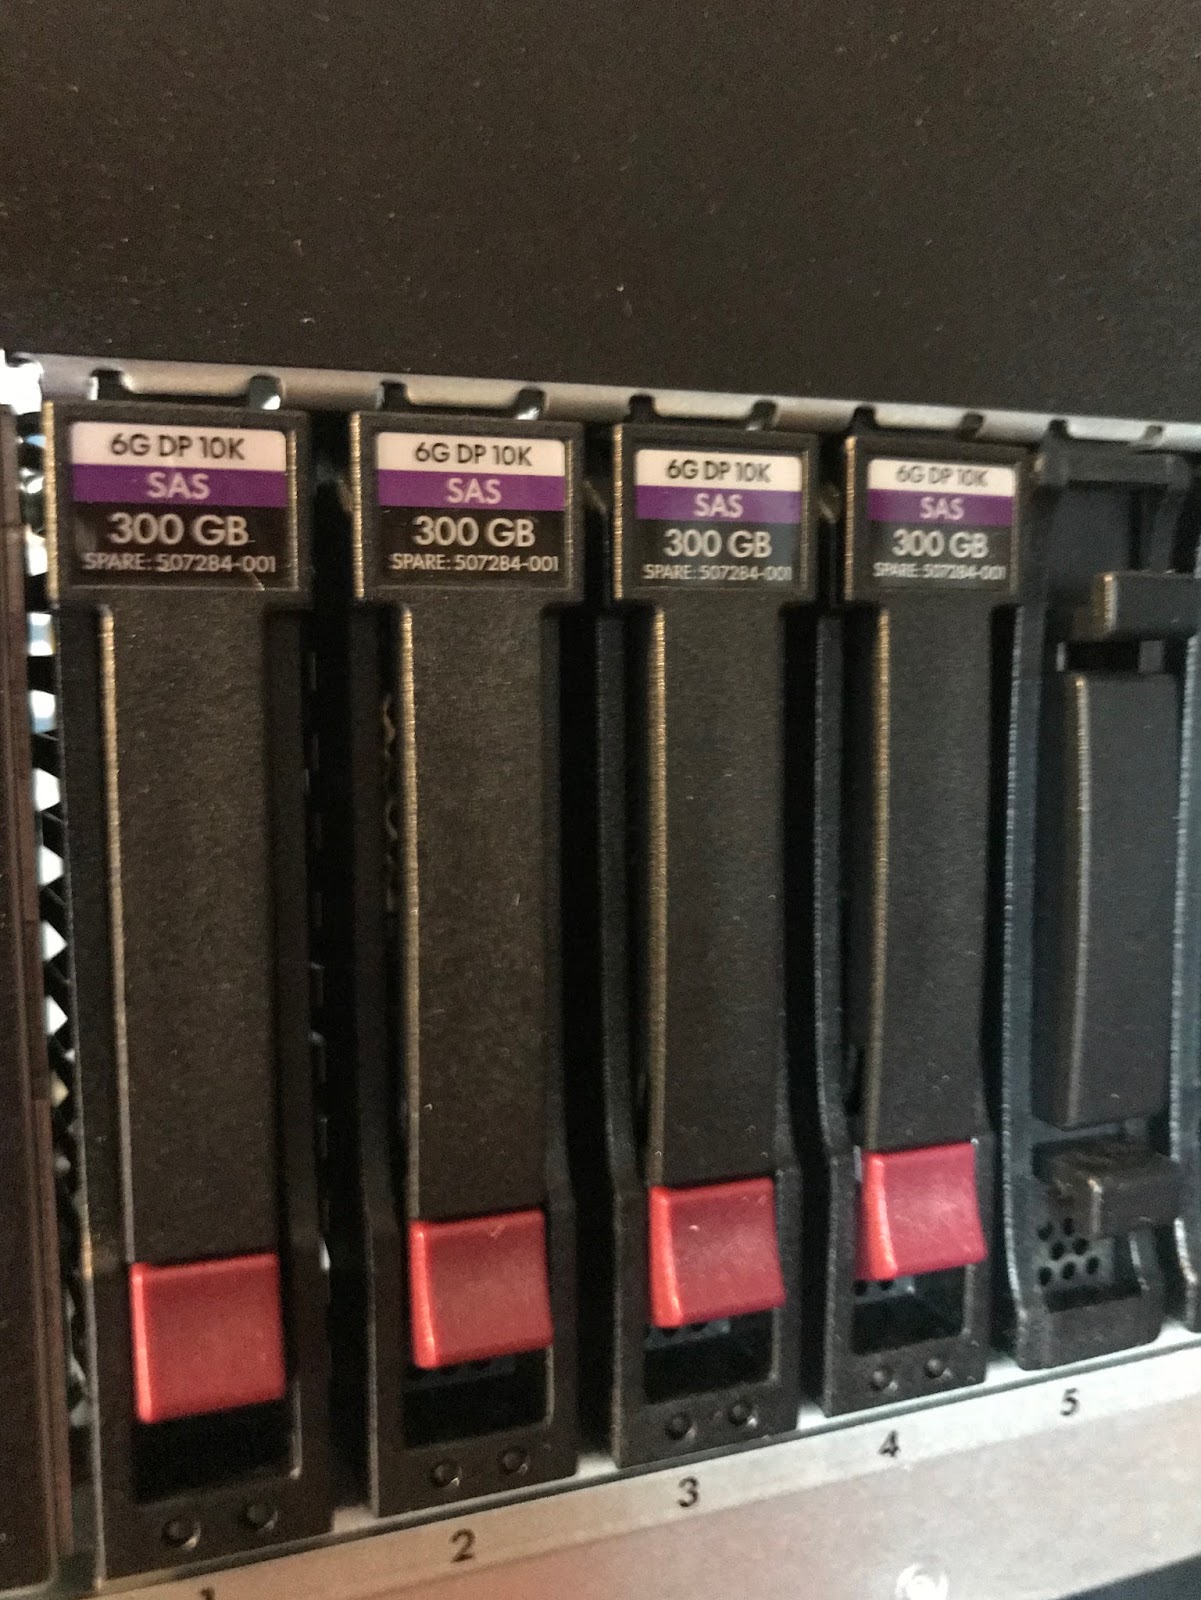
To support the number of VMs and possible environments I want to host I will be leveraging a network attached storage (NAS) device to store data. My network backbone is a full gigabit running on CAT6 plenum-rated cable. The disks and more details will be explained in detail when I do some benchmarking.
iSCSI Setup on Synology NAS
I own a Synology Network Attached Storage (NAS) device which can support recording surveillance, running VMs, private cloud drive, and many more features. The Synology device is more resilient than the used hard drives in the server I recently bought. So I created a one terabyte LUN for storing VM configuration and drives. If the server’s hard drives crash, I can either purchase a replacement drive and rebuild the RAID array or reinstall Windows with the drives left. Either way I will be able to reattach the virtual machine files from the Synology NAS and run them with little pain. Additionally it is ‘thin provisioned’ meaning the storage is not taken until it is used by a VM.
Here are the steps I took:
1. Log into the DSM interface
2. Open the Storage Manager ‘app’
3. Click iSCSI LUN
4. Click “Create” button
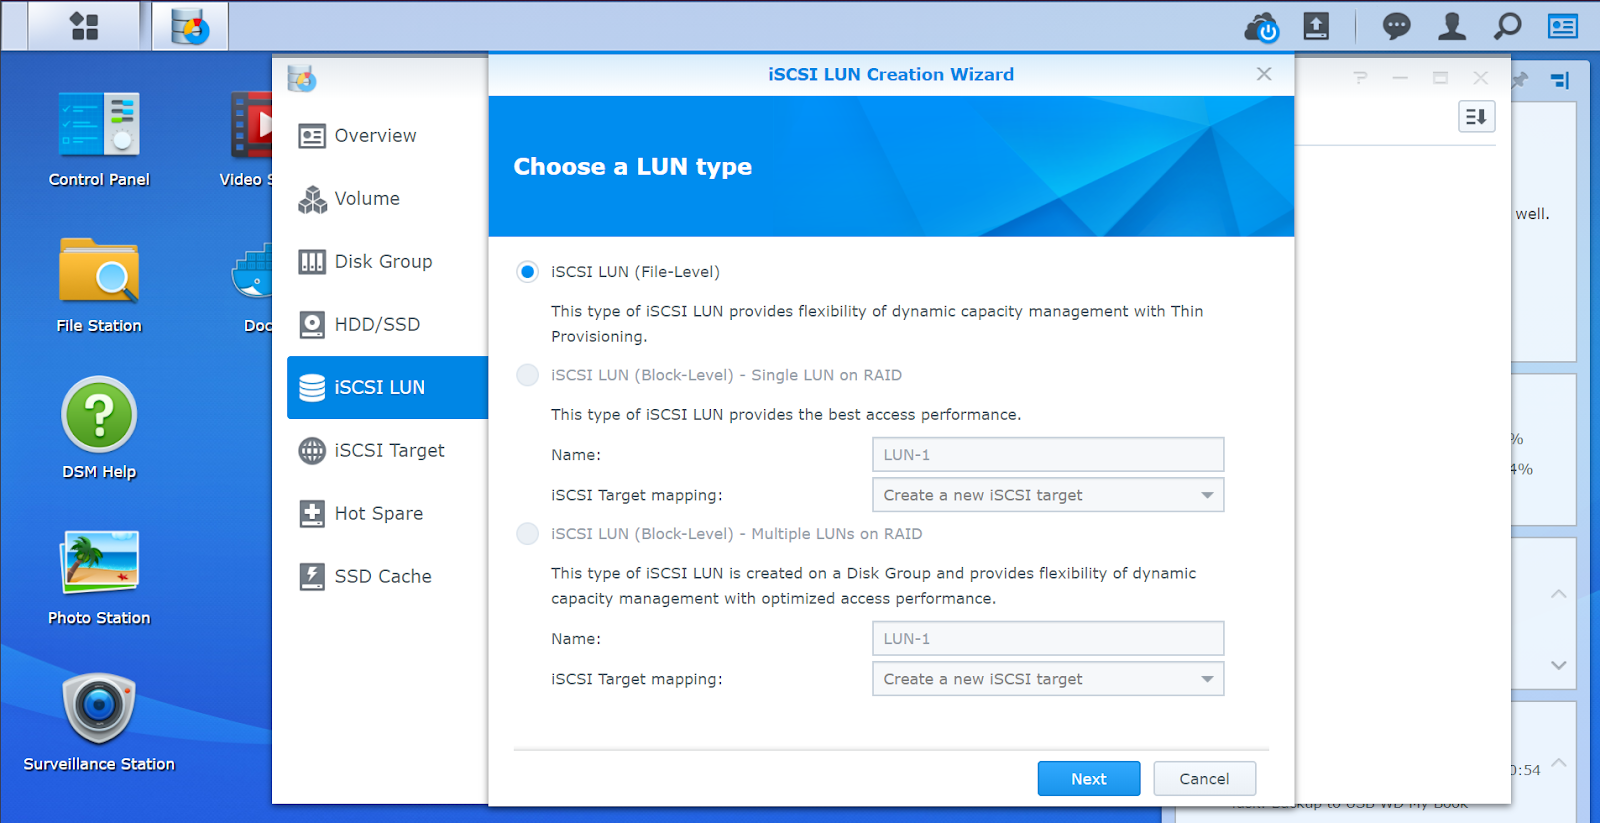
5. Click “Next”, thereby accepting a File-Level LUN
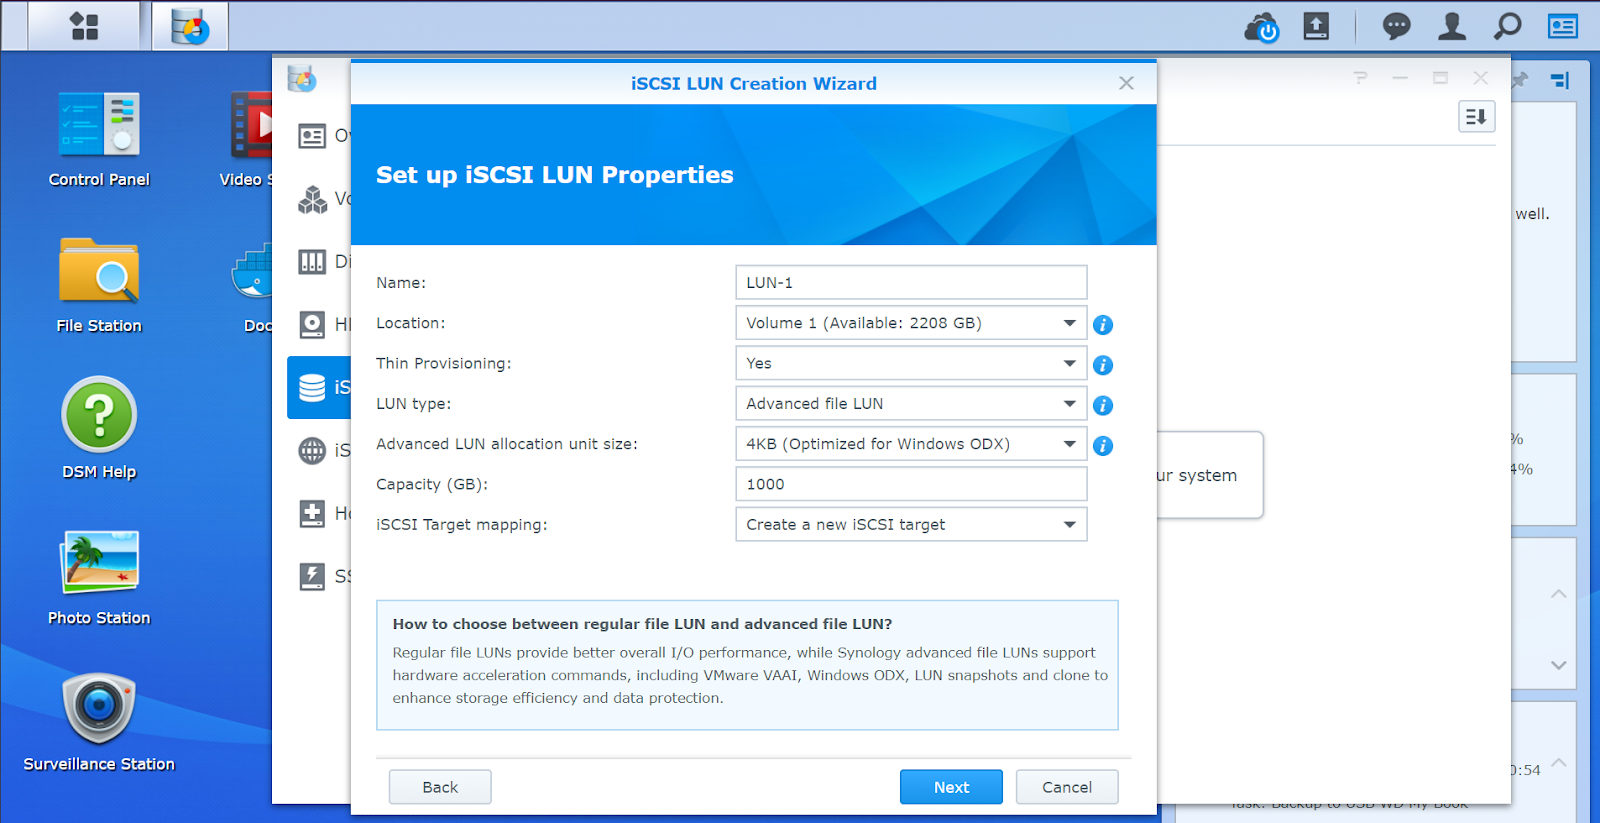
6. Change the settings to Advanced LUN, 4KB, and the appropriate capacity.
7. Click Next
7. Set your own IQN
8. Click next

9. Click Apply
You now have a LUN available to your network which we will connect to our Hyper-V server.
Reference: How to use the iSCSI Target service on Synology NAS


Leave A Comment