
Regardless of the NAS device you may be using, the following steps can attach iSCSI storage to your server for VM storage. These are the steps I took:
Attach an iSCSI LUN to Windows Server 2016
1. Log into the Hyper-V server
2. Open the iSCSI Initiator program
3. Type in the static IP address of your NAS
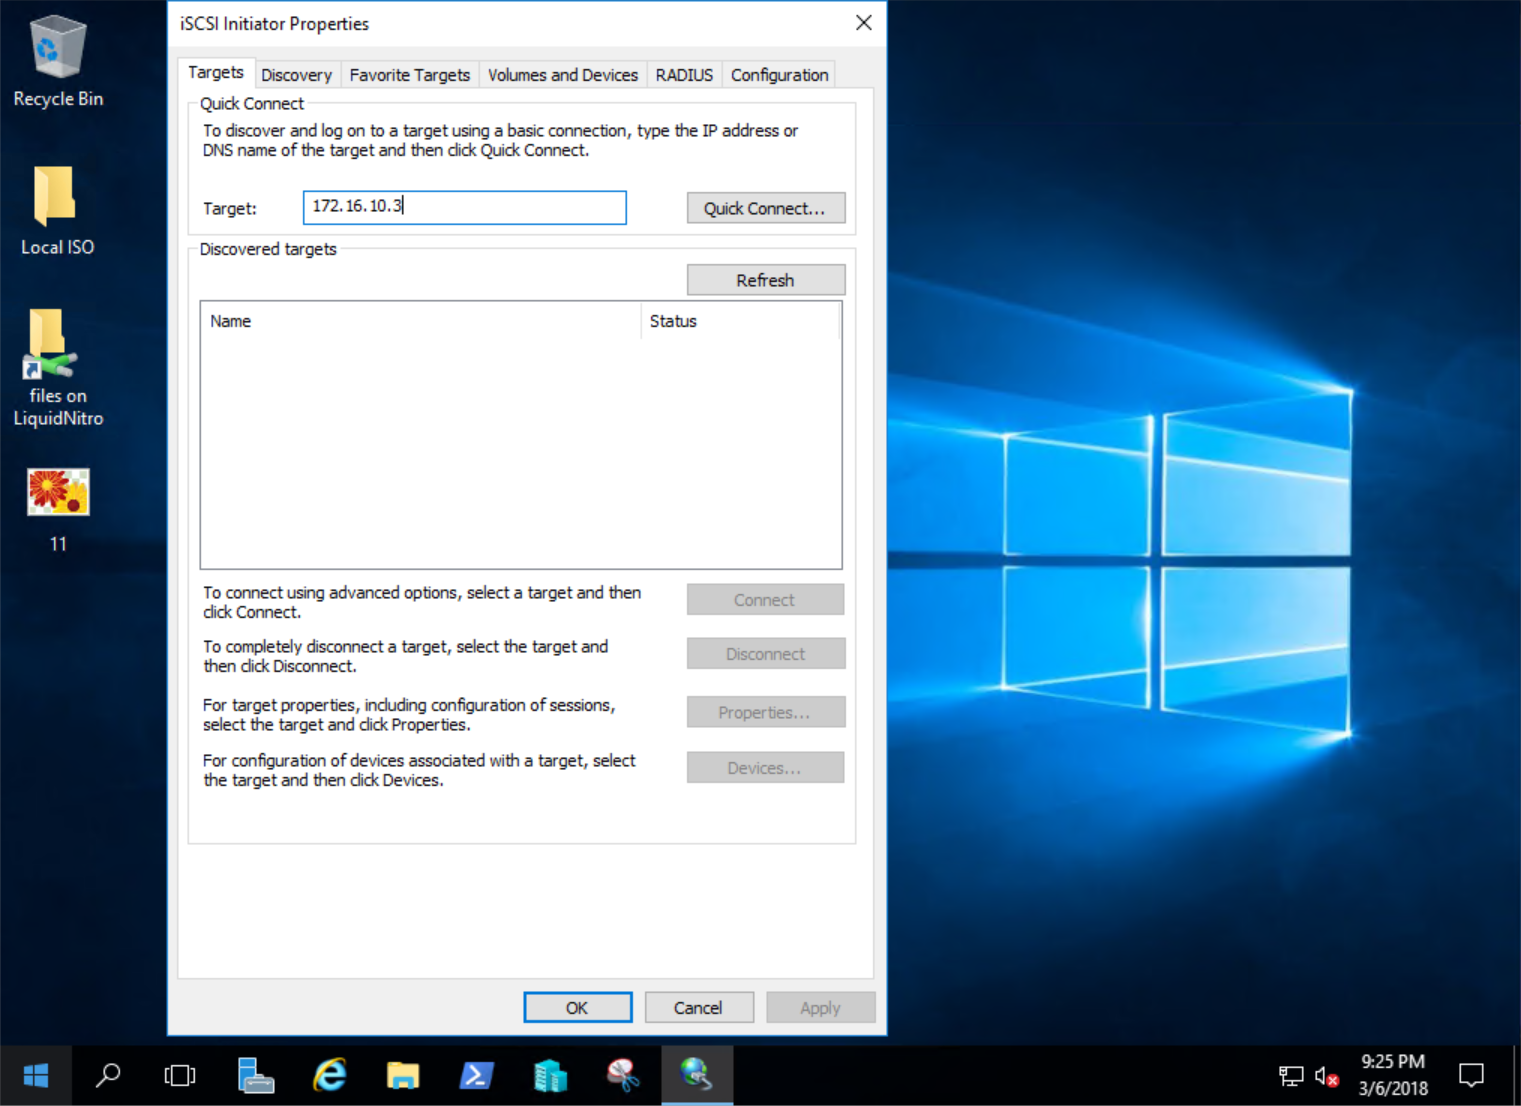
4. Click “Quick Connect”
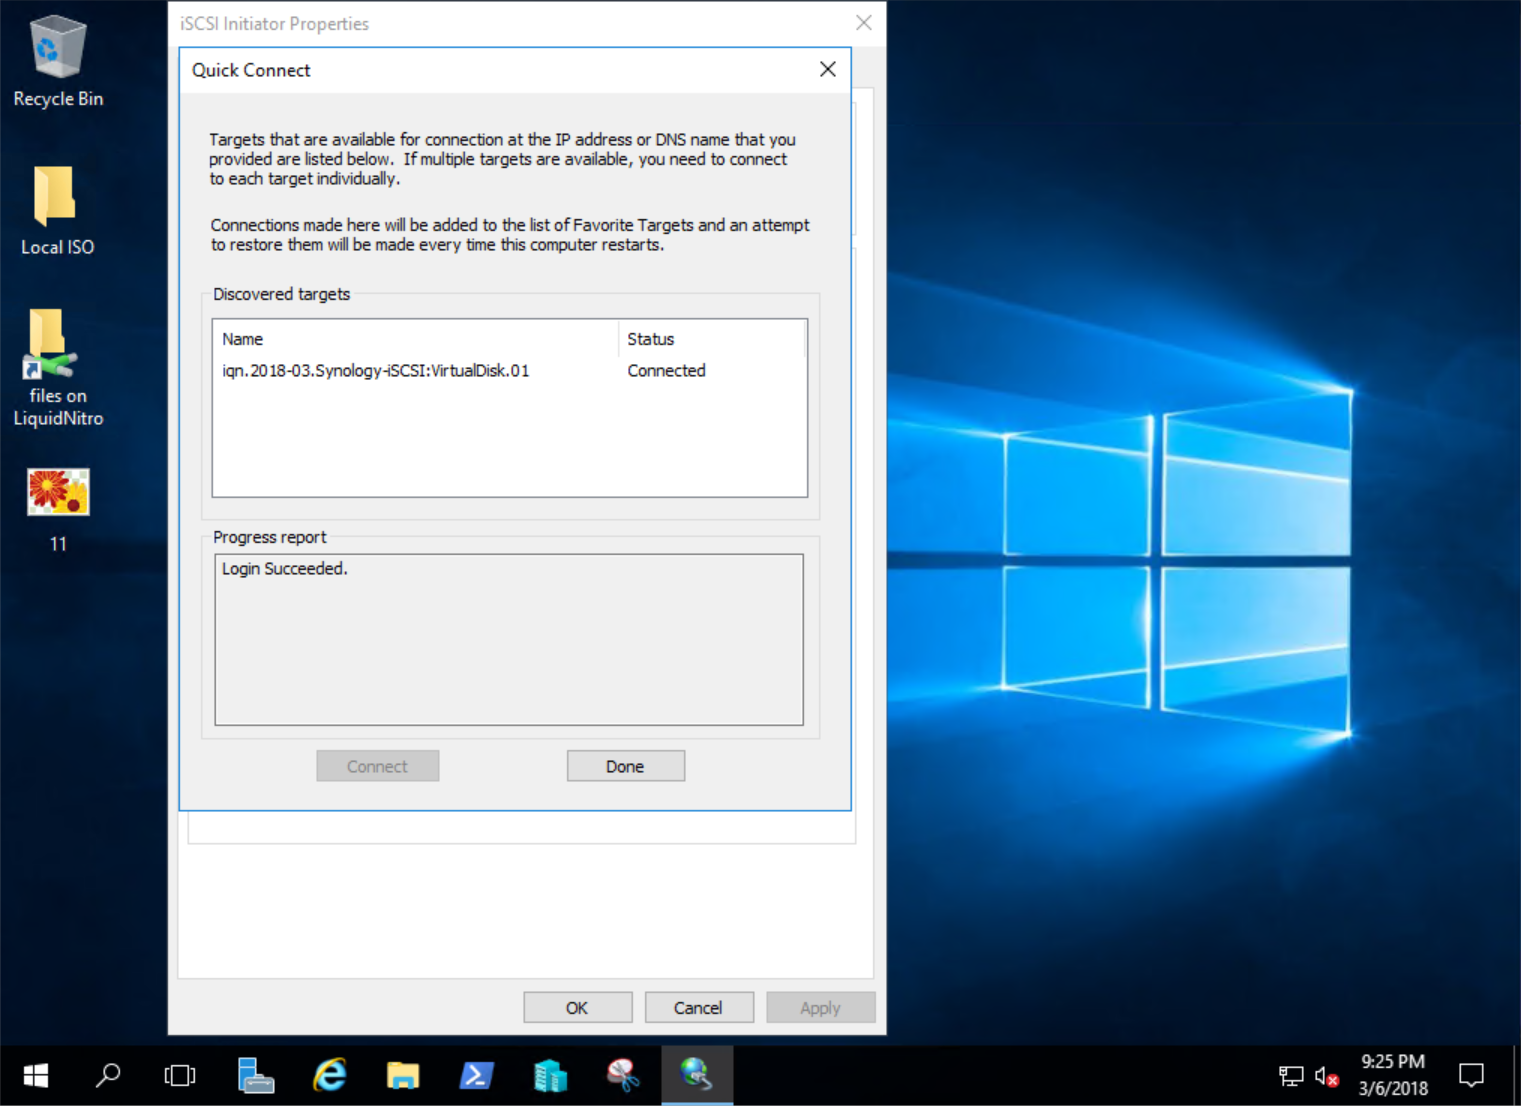
5. Click “Done.” The virtual disk name should appear “Connected.”
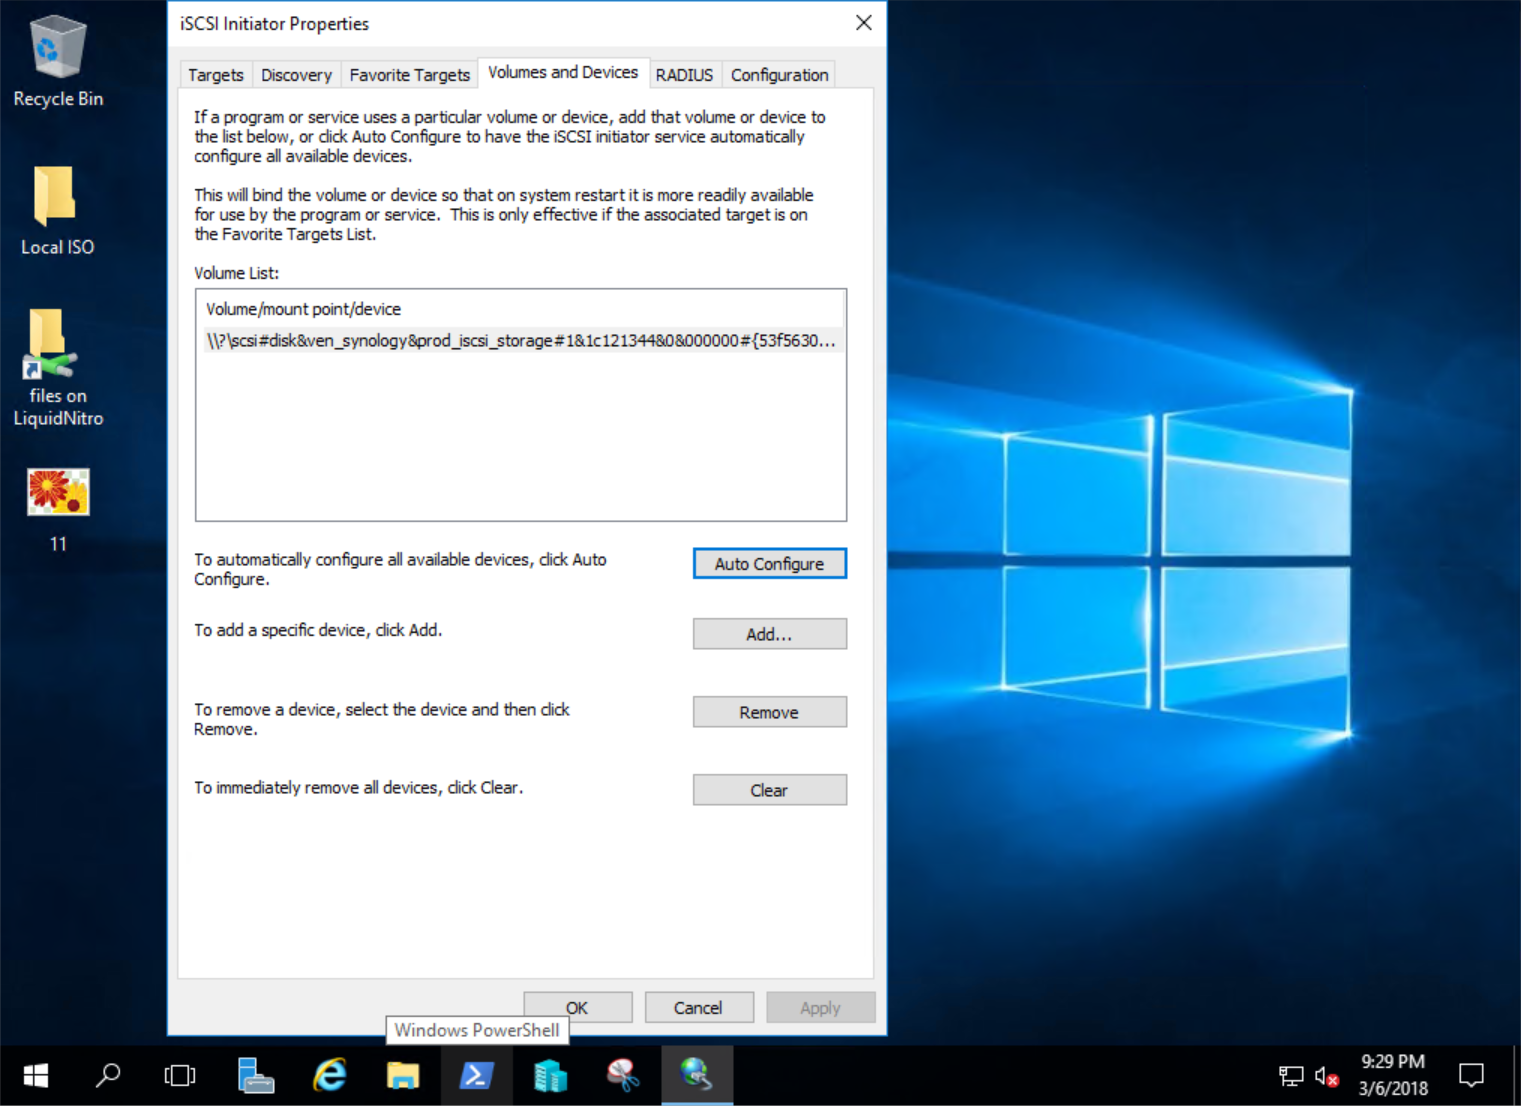
6. Click the “Volumes and Devices” tab
7. Click “Auto Configure” button. This should add your volume to the list
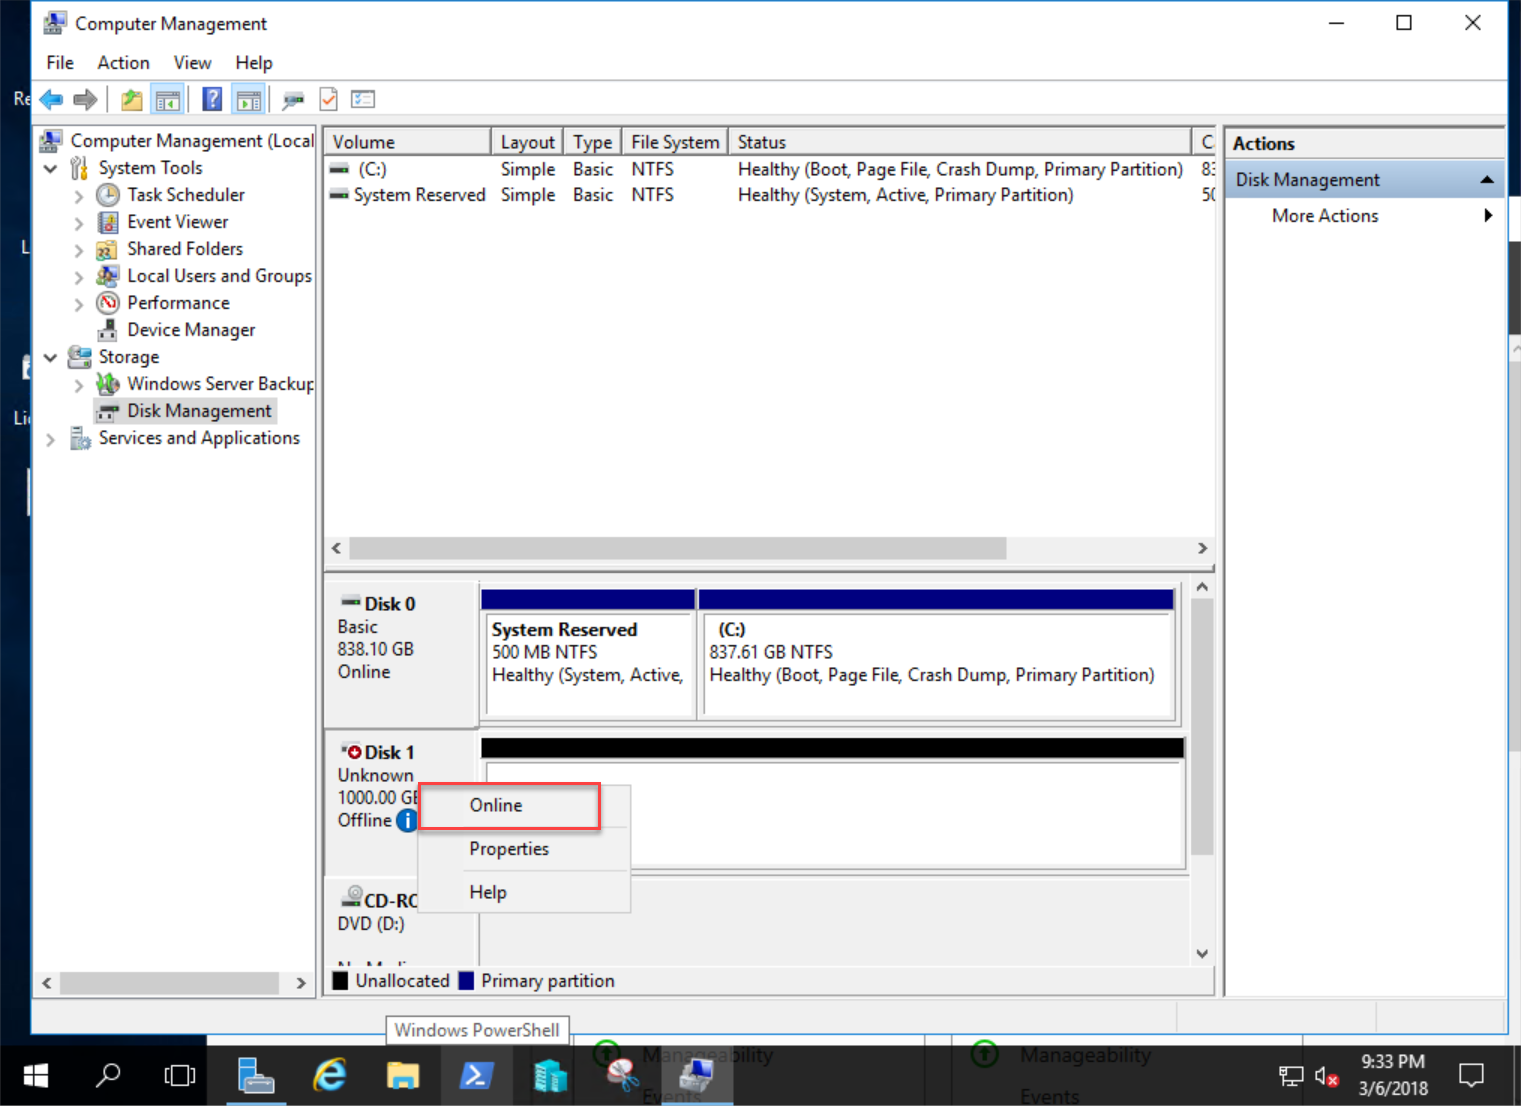
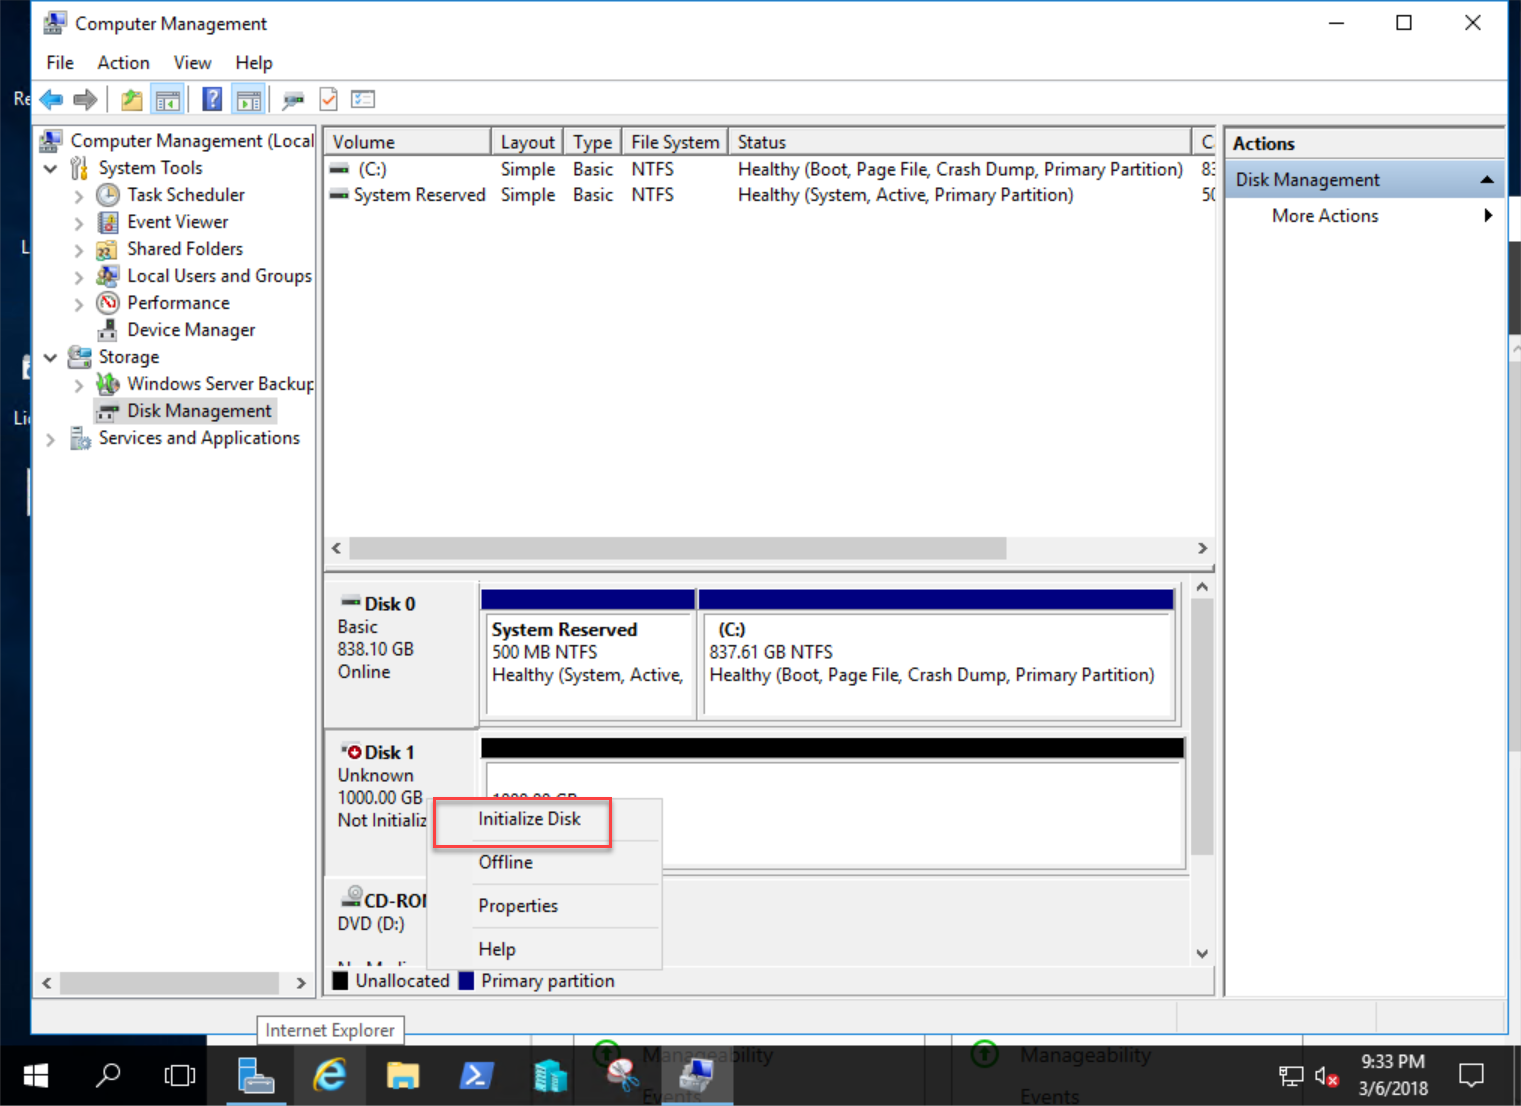
8. Start > Run compmgmt.msc
9. Click on Storage > Disk Management. The new disk (LUN) should appear offline.
10. Right click and choose “Online”
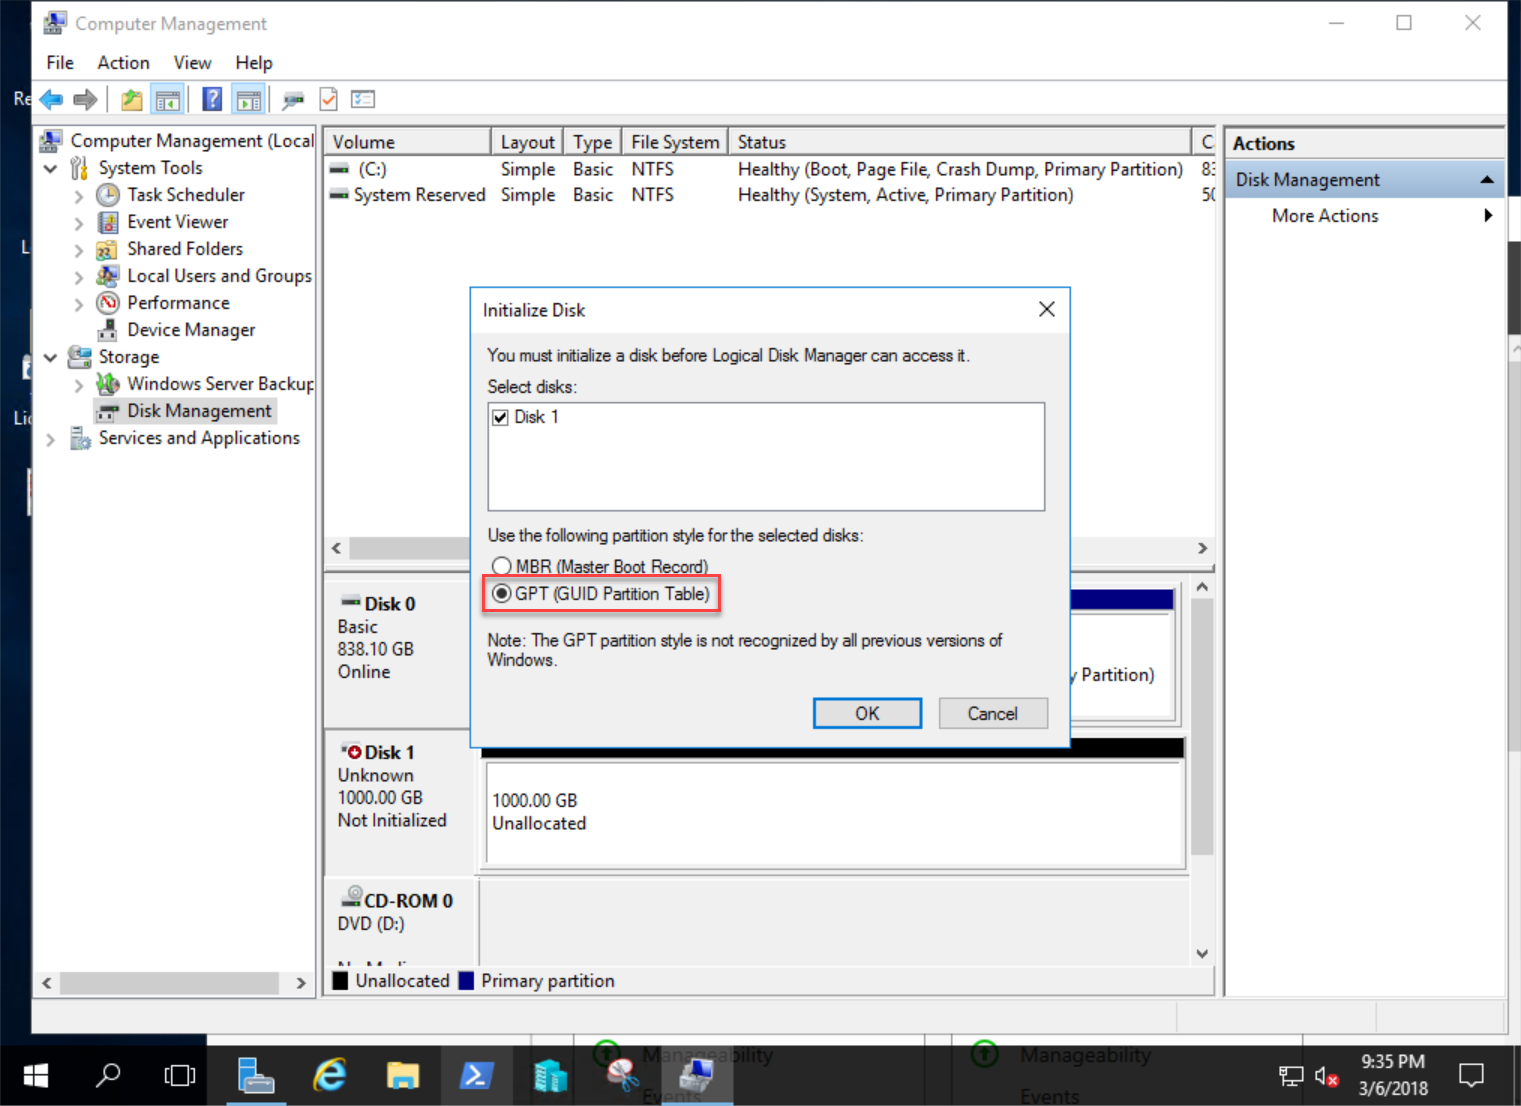
11. Right click and choose “Initialize Disk”
12. Choose to create a GPT (GUID Partition Table) for the disk.
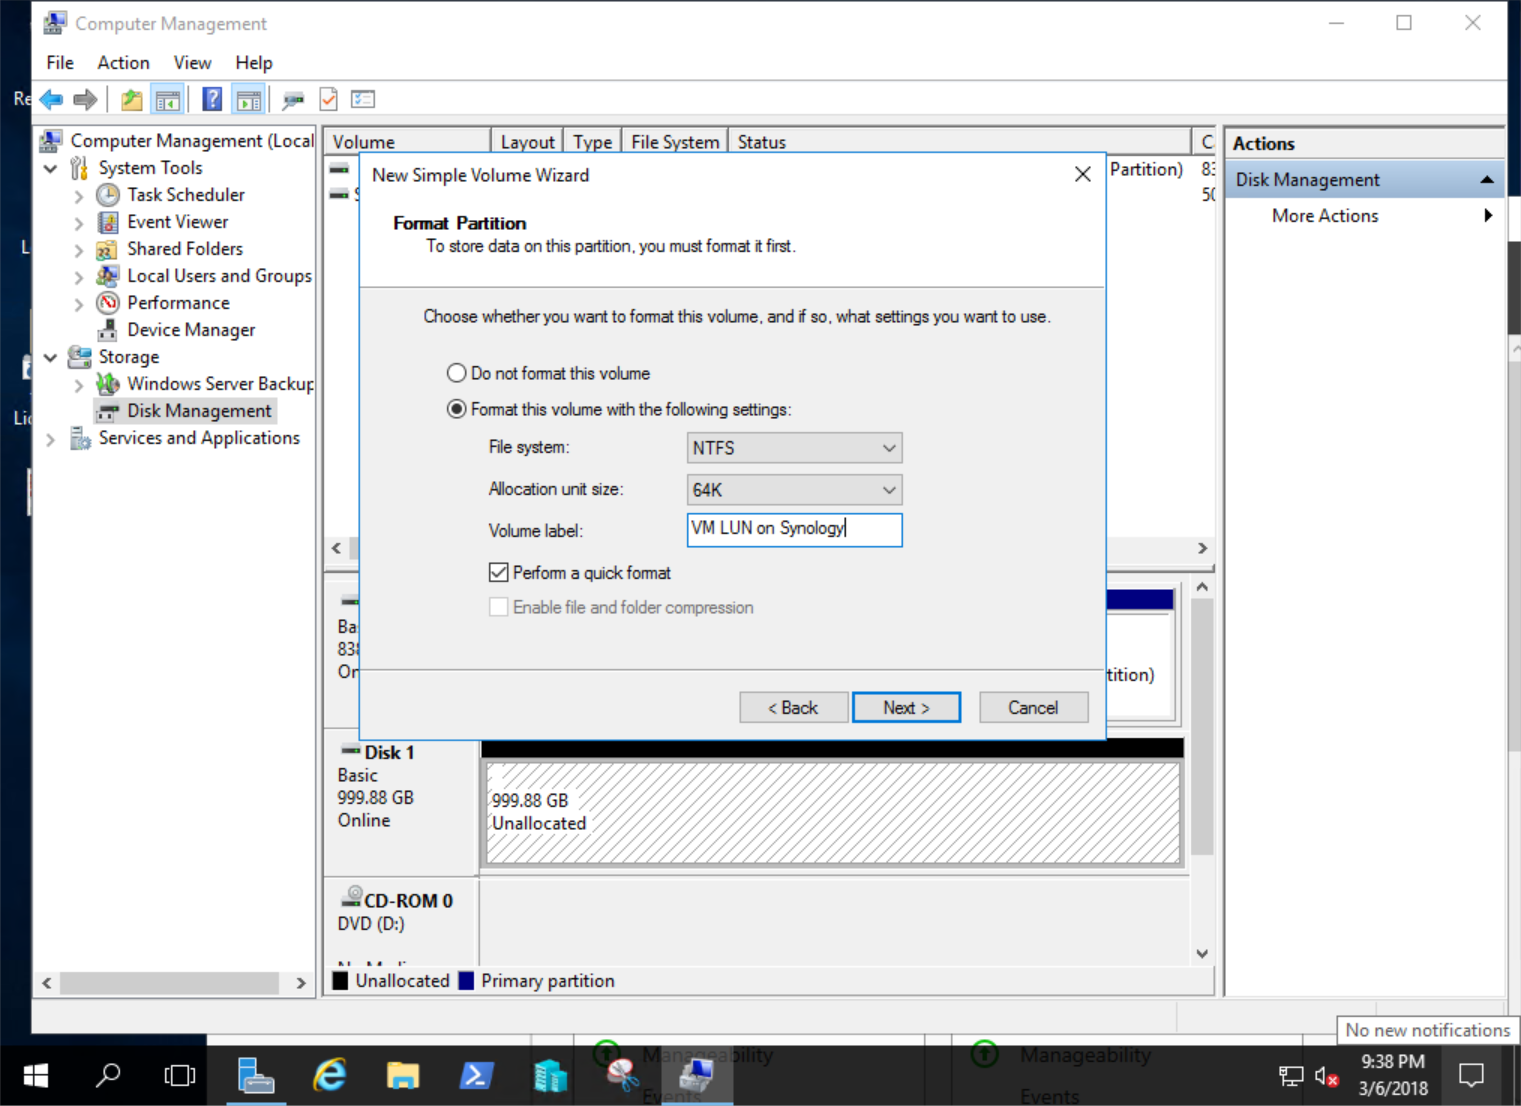
13. Right click the unallocated area and choose “New Simple Volume…”

14. Format the volume as NTFS, 64K, give it a label, and quick format.
Change Default Hyper-V VM Folders
15. Open Hyper-V Manager
16. Click on your server
17. Click “Hyper-V Settings”
18. Change the “Virtual Hard Disks” setting to a subfolder of your new drive.
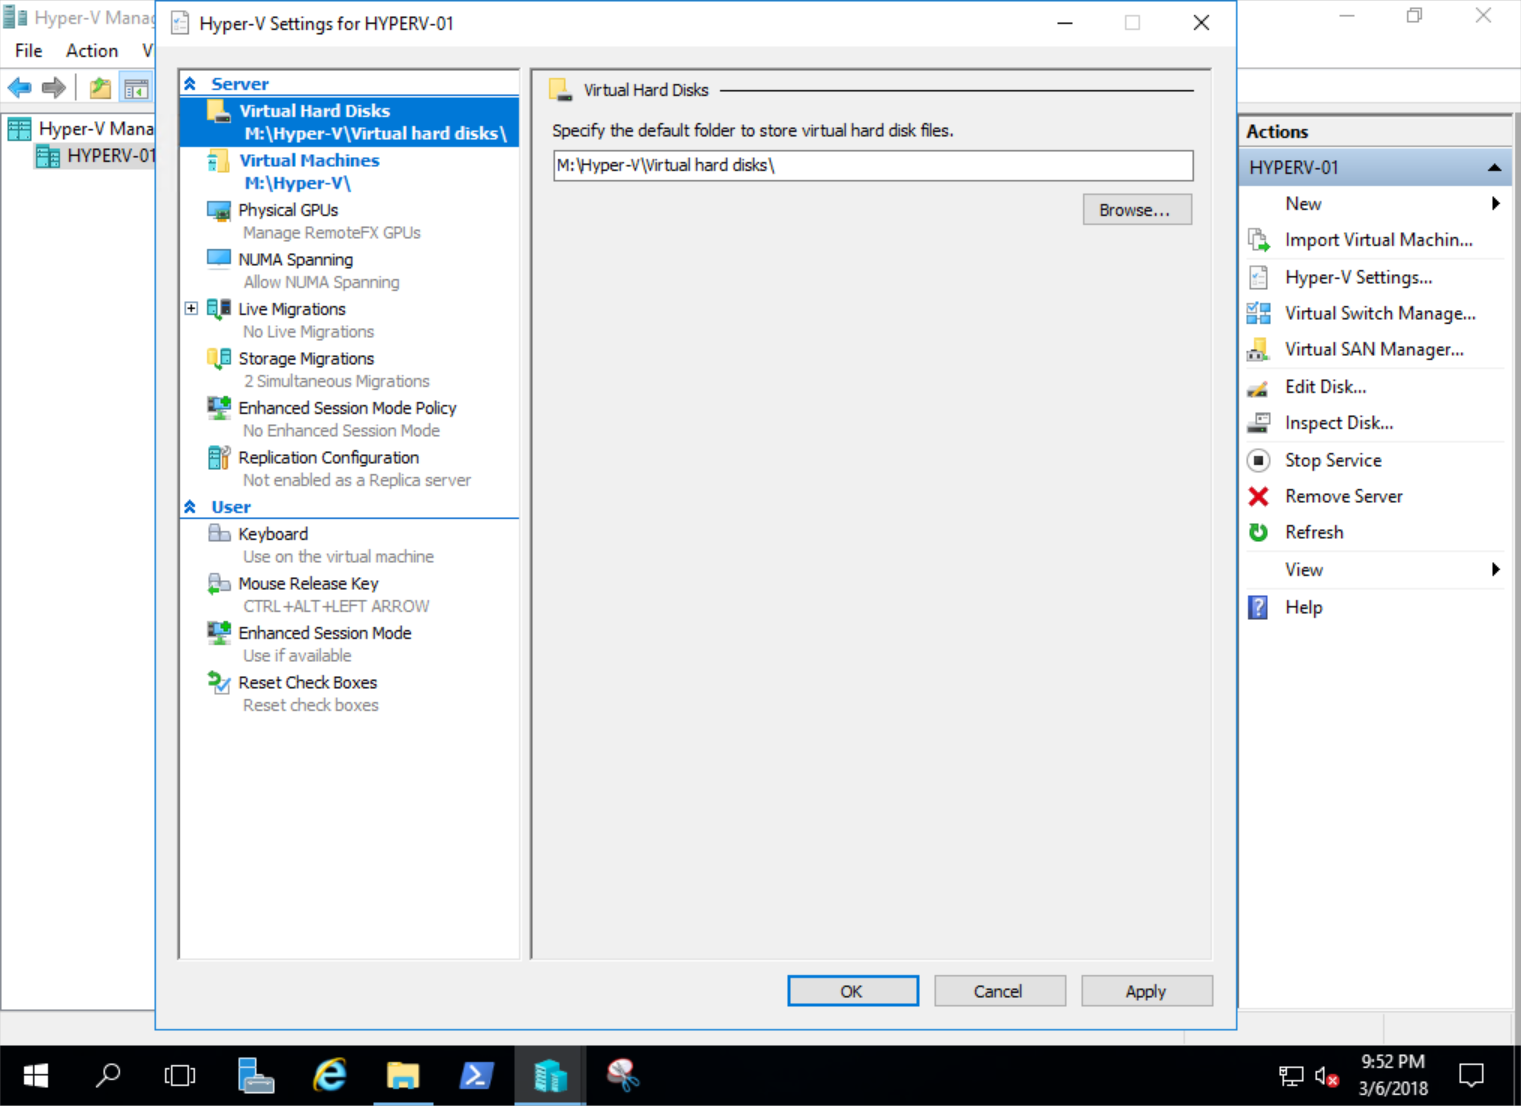
19. Change the “Virtual Machines” folder to your new drive.

We are now ready to create virtual machines!!
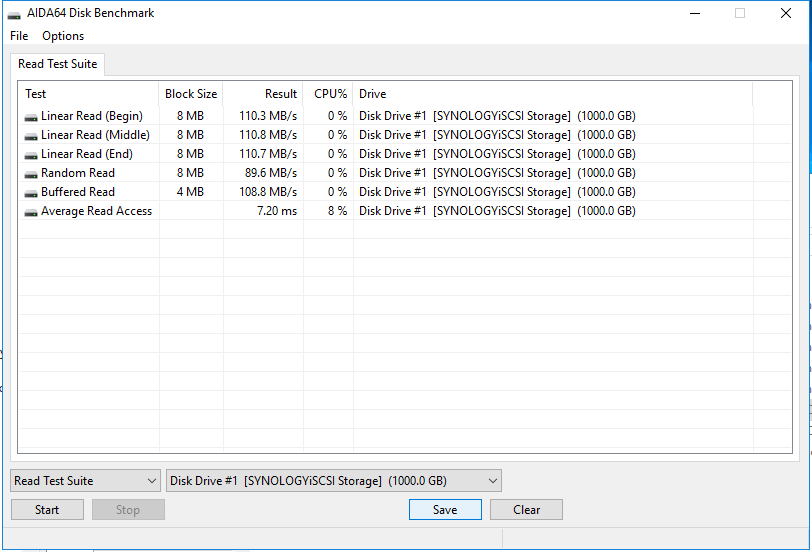
(Optional) Download AIDA64 or IOmeter and run a disk test.
Reference: How to use iSCSI Targets on a Windows Server
Leave A Comment